How to Calibrate Your Gaming Monitor for Best Visuals
11 August 2025
Let’s be real for a second—you could have the most powerful gaming rig on the planet, a GPU that costs more than your rent, and an SSD fast enough to boot into the next dimension… but none of that matters if your monitor looks like trash.
Imagine firing up your favorite game—it boots, you hit the menu, and instead of crisp shadows and vibrant colors, it looks like someone smeared Vaseline across your screen. Yikes.
That’s where monitor calibration comes in. No, it’s not some tech voodoo only engineers understand. It’s something every gamer should do—especially if you care about color accuracy, contrast, brightness, and just plain jaw-dropping visuals.
So, grab your snacks, sit tight, and let’s dive into how to calibrate your gaming monitor for best visuals. This guide is simple, hands-on, and will change how you experience games forever.
🎮 Why Monitor Calibration Actually Matters
Before we start fiddling with settings, let’s answer the burning question: Why should you even calibrate your monitor?Glad you asked.
Most monitors come out of the box with settings jacked all over the place—too bright, too blue, too “meh.” Manufacturers crank up the brightness and saturation to make things pop in a showroom, not your gaming room.
Calibration fixes all that.
Here’s what you get when your monitor is calibrated properly:
- True-to-life colors – You'll finally see games as the developers intended.
- Enhanced contrast ratios – Say hello to actual visibility in dark scenes.
- Less eye strain – Better brightness = comfy long sessions.
- Competitive edge – Spot enemies lurking in shadows? Check.
Bottom line: Calibration turns your monitor from a screen into an immersive portal. And who doesn’t want that?
🛠️ What You’ll Need to Get Started
Now before we jump into the nitty-gritty, let’s gear up. Think of this as prepping your loadout before a tough boss fight.Here’s what you’ll need:
🔹 Your Monitor (Duh)
This one’s obvious, but worth mentioning: You need a decent gaming monitor. Whether it’s IPS, VA, or TN, most modern monitors can benefit massively from a good tune-up.🔹 Basic Calibration Tools
You can do a solid job with:- Windows Calibration Tool (built-in)
- Mac Display Calibration Assistant
- Online Calibration Tools like Lagom.nl
- NVIDIA Control Panel or AMD Radeon Settings
Want to go pro level?
- Hardware colorimeters like Datacolor SpyderX or X-Rite i1Display Pro can give you pixel-perfect calibration.
But don’t sweat it if you’re on a budget. We’re gonna focus on free and easy methods that make a visible difference.
⚙️ Step-by-Step: How to Calibrate Your Gaming Monitor for Best Visuals
Alright, time to roll up our sleeves. Let’s do this step by step.Step 1: Warm Up Your Monitor
Think of your monitor like an athlete. It needs a warm-up.Leave it running for at least 20-30 minutes before calibrating. This gives the panel time to reach optimal brightness and temperature. Skipping this is like trying to stretch cold muscles—never ends well.
Step 2: Reset to Factory Settings
You can’t tweak effectively if your current settings are all over the place. Head into your monitor’s on-screen display (OSD) and reset everything back to factory default.This gives you a clean slate to work from.
Step 3: Set Your Resolution & Refresh Rate
Make sure you're running at your monitor’s native resolution. If you’ve got a 1440p monitor, don’t let it downgrade you to 1080p, alright?On Windows:
1. Right-click on the desktop.
2. Go to Display Settings.
3. Scroll down to “Display resolution” and make sure it’s set correctly.
Then, hit up your refresh rate (especially important if you're rocking 120Hz or 144Hz).
On Windows 10/11:
- Settings > System > Display > Advanced Display Settings > Refresh Rate.
Step 4: Adjust Brightness and Contrast
Now let’s tweak what literally lights up your screen.Brightness:
Too low = dark mess.Too high = your eyeballs melt.
Use the Lagom Brightness test or a simple black-level gradient image. You want to see distinct steps between black and darker gray blocks.
Contrast:
Raise contrast until white areas look crispy, but without losing detail in the highlights. If everything looks like it’s glowing white? You’ve gone too far.Pro tip: Do this in a dimly-lit room for the best accuracy.
Step 5: Tackle Gamma Settings
Gamma affects how light and dark tones are distributed. Set it wrong, and shadows eat half the screen or everything looks too flat.Most online tools (like Lagom Gamma or Windows calibration) include a gamma test. Aim for balanced visibility in both dark and light areas, without clipping either side.
For most gaming setups, a gamma of 2.2 is the sweet spot.
Step 6: Get Your Colors Right
Color temperature, saturation, and hue—this is where your monitor starts to sing.- Color Temperature: Go for 6500K (D65). It’s the standard for natural white balance. Anything higher starts looking blue, which ain’t the vibe.
- Saturation & RGB Tuning: If your monitor allows individual RGB tuning, adjust red, green, and blue to get a balanced grayscale. No color should overpower the other.
- Tint or Hue: Avoid this unless you know what you're doing, or your monitor has a noticeable color cast.
Step 7: Use Built-In OS Tools
If you're on Windows:1. Open Start, search for "Calibrate Display Color".
2. Go through the built-in tool—it walks you through gamma, brightness, contrast, and color balance.
It’s not perfect, but it gets you 80% of the way there.
On macOS:
1. Go to System Preferences > Displays > Color > Calibrate.
2. Follow the prompts for a decent baseline.
Step 8: Adjust In-Game Settings
Now that your monitor is a visual beast, don’t let your in-game settings ruin it.Most modern games offer:
- Brightness sliders
- Colorblind modes
- Gamma control
Use built-in test images or “barely visible” logos to fine-tune things. You want that sweet spot where shadows aren’t black holes but still feel shadowy. Subtle, not washed out.
Step 9: Tweak GPU Settings (Bonus Round)
If you're still craving perfection (aren’t we all), let’s go one level deeper.NVIDIA Control Panel:
- Adjust desktop color settings.- Play with digital vibrance (but don’t overdo it).
- Tweak gamma and contrast here too.
AMD Radeon Software:
- Display tab > Color settings.- Adjust brightness, hue, contrast, and saturation.
A light touch is key—you want to enhance, not distort.
Optional: Use a Hardware Colorimeter
If you're a content creator, streamer, color purist, or just a perfectionist? Consider investing in a hardware calibration tool.They aren’t cheap, but they bring Hollywood-level accuracy to your setup. Plug it in, run the software, and boom—your monitor is looking chef’s kiss.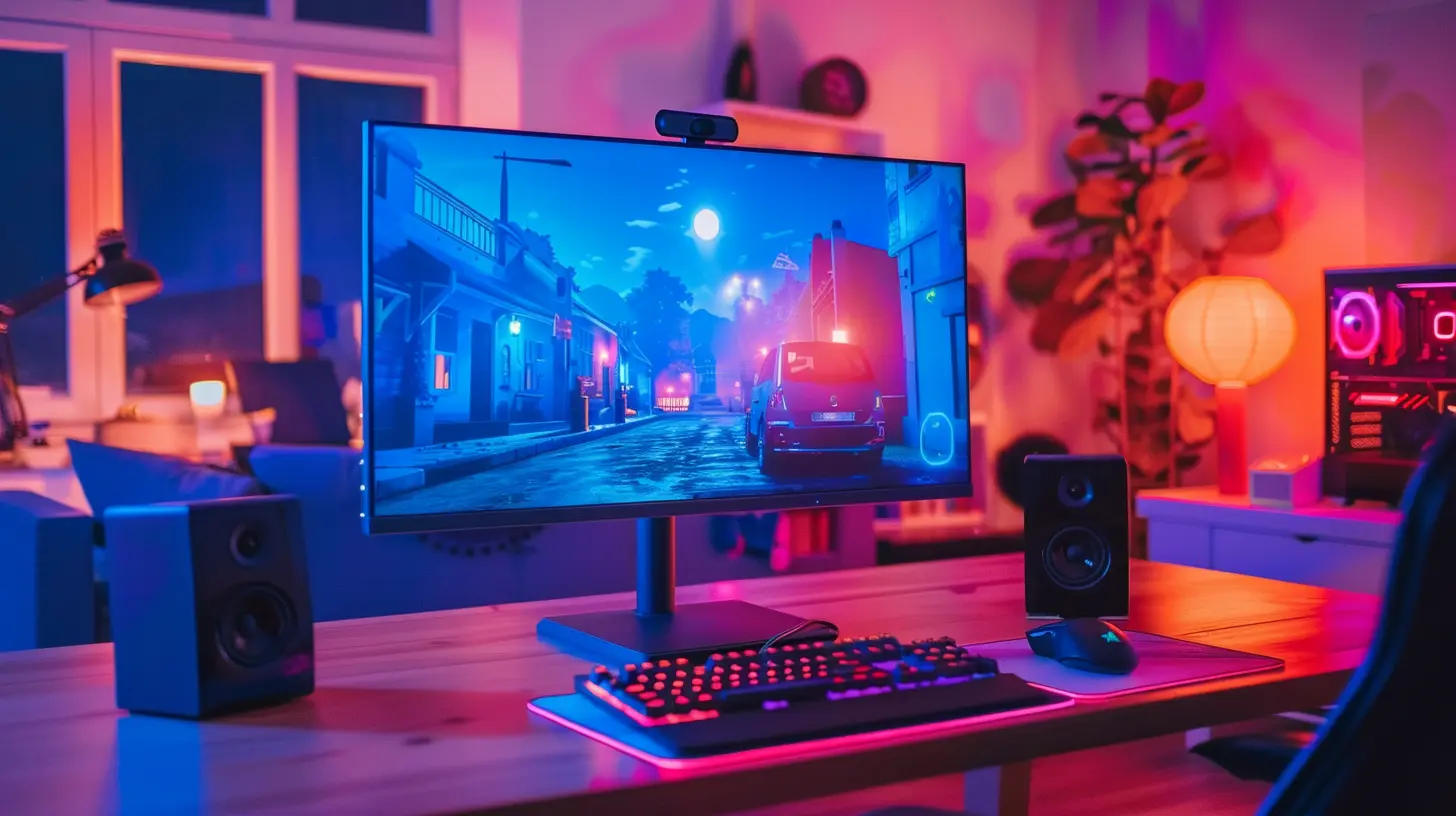
⚡ Pro Tips for Ongoing Visual Glory
Let’s keep your screen sharp and sexy:- Recalibrate every few months—especially after a new driver or OS update.
- Avoid using overly aggressive “Game” or “Dynamic” modes—they often oversaturate and mess with shadows.
- Turn off any “Motion Smoothing” or “Overdrive” features if they cause ghosting or artifacts.
- Match your room lighting to your calibration—ambient light affects perception like crazy.
🧠 The Psychology of Good Visuals (It’s Not All Tech)
Wanna know something wild?Even if a game hasn’t changed graphically, your brain perceives it as better looking after proper calibration. That’s how big a deal it is.
Good visuals don’t just look better—they feel better. It’s like upgrading from a paper towel to a luxury bathrobe. Once you experience it, you can’t go back.
🎤 Final Thoughts: Don’t Sleep on Monitor Calibration
Some tweaks might seem small, but the difference? HUGE.You bought that gaming monitor for a reason—don’t leave performance on the table. Calibrate it right, and you’ll see games in a way most people never do.
It’s like swapping VHS for Blu-Ray. You’ll wonder how you ever played before.
So go ahead—take control of your visuals. Your eyeballs (and your K/D ratio) will thank you.
all images in this post were generated using AI tools
Category:
Gaming MonitorsAuthor:

Avril McDowney
Discussion
rate this article
2 comments
Solenne McGehee
Calibrating your gaming monitor is vital for optimal visuals—adjusting brightness, contrast, and color settings enhances immersion and clarity. A well-tuned display not only elevates gameplay but also reduces eye strain during long sessions.
January 28, 2026 at 6:09 AM
Sage Hardy
Great tips! Calibrating your gaming monitor is like tuning a musical instrument—every tweak brings out the best in your visuals. Get ready to immerse yourself in stunning graphics and enjoy those epic gaming moments even more. Happy gaming! 🎮✨
August 27, 2025 at 2:28 AM

Avril McDowney
Thank you! I love the musical instrument analogy. Proper calibration truly enhances the gaming experience. Happy gaming to you too! 🎮✨

