How to Build a Multi-Monitor Gaming Setup
5 July 2026
Let me guess — you've seen some jaw-dropping battle stations online and found yourself wondering, "How do I even start building a multi-monitor gaming setup like that?" You're not alone. Many gamers dream of a panoramic gaming experience that pulls you in like a vortex of pixels and immersion. Whether it’s for enhanced field of view in FPS games, managing multiple windows while streaming, or just flexing on Reddit’s battlestation threads — a multi-monitor setup is every gamer's next-level upgrade.
But here's the catch — slapping a couple of monitors on your desk and calling it a "setup" isn't going to cut it. There's a whole lot more that goes into it, and that's exactly what we’re breaking down today. I'm going to walk you through everything you need to know to build your dream multi-monitor gaming setup, step-by-step, without all the tech jargon.
Why Go Multi-Monitor?
Before we dive into cables, GPUs, and cable management, let's talk about the “why.” Why would anyone need more than one monitor?Well, it's not just for show. A multi-monitor setup gives you:
- Expanded Field of View (FOV): In supported games, like Flight Simulator or racing games, you get a nearly 180-degree view.
- Multitasking Ability: Perfect for streamers and content creators. One screen for the game, one for chat, one for monitoring stats.
- Immersion: Everything feels more alive. When you surround yourself with visuals, you're not just playing the game — you're inside it.
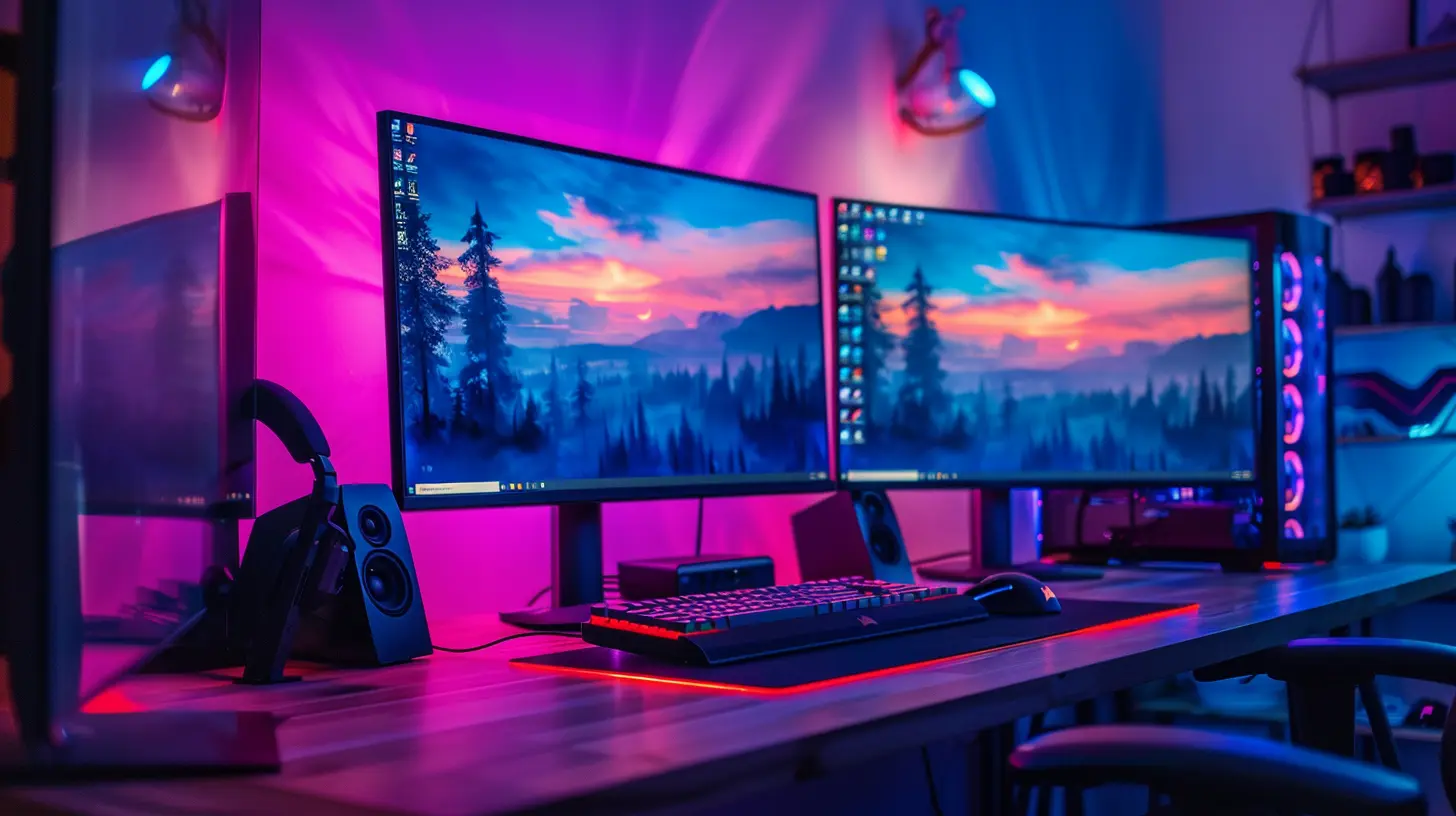
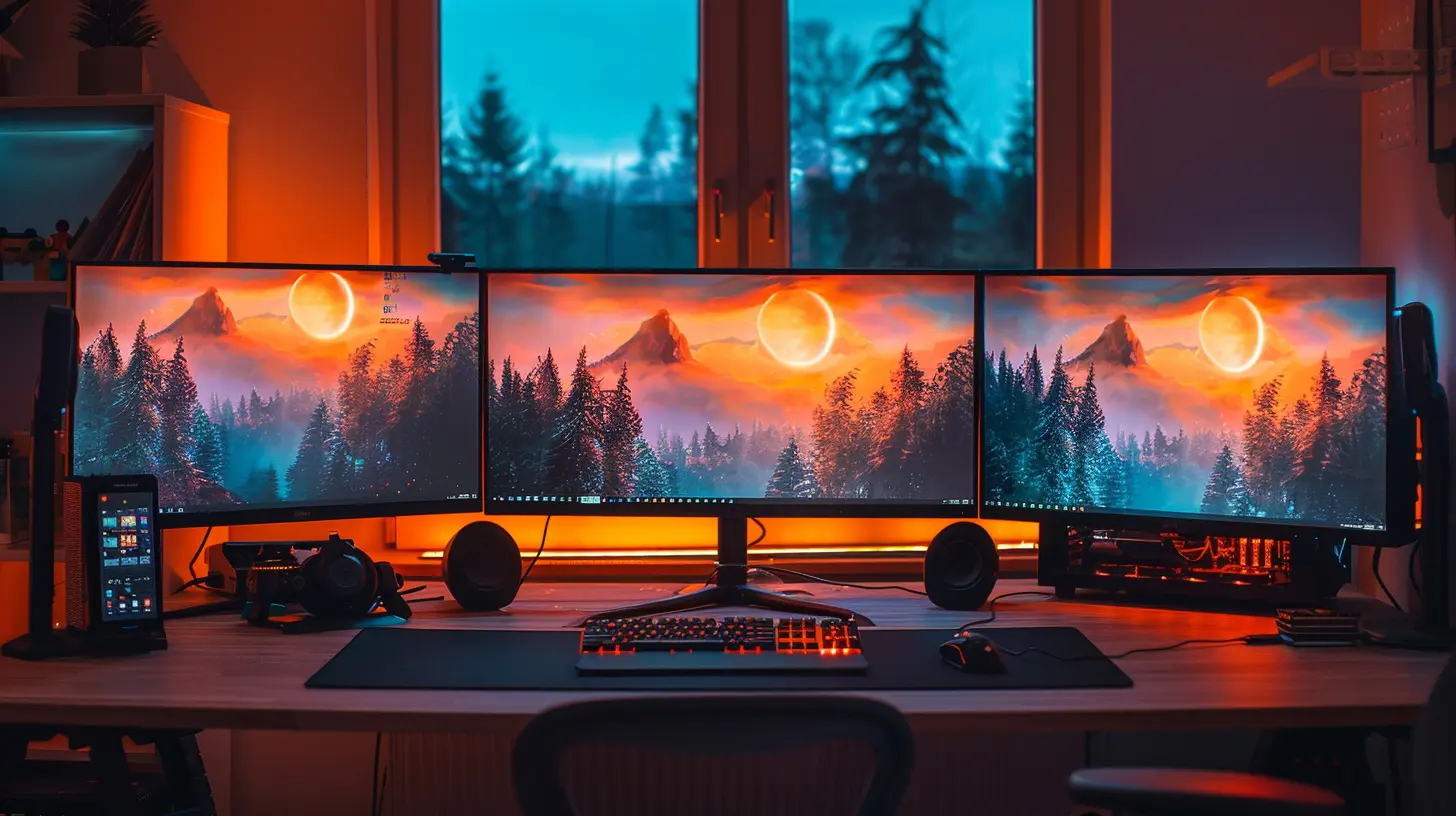
- Epic Aesthetics: Let’s be honest, nothing beats the look of a curved triple-monitor setup glowing in RGB.
Step 1: Planning Comes First
You wouldn’t build a house without blueprints, right? Same idea here.Ask yourself:
- How many monitors do I need?
- How much desk space do I have?
- What’s my budget?
- What types of games or tasks am I going to use this for?
? Pro Tip: Start with two monitors if you're unsure. You can always add a third later. Going for three right out of the gate might get expensive and take up more room than you expect.
Step 2: Choosing the Right Monitors
Now, let’s talk screens. Not all monitors are created equal. You have to consider:➤ Monitor Size and Resolution
- Ideal Sizes: 24 to 32 inches typically works best. Too big, and your neck will hate you (unless you mount them).- Resolution: 1080p is the entry point, but 1440p or even 4K gives you crisp visuals. Just remember, higher resolution = more strain on your graphics card.
➤ Refresh Rate & Response Time
- Gaming Sweet Spot: Aim for 144Hz and 1ms response time for buttery-smooth gameplay.- If one monitor is for gaming and the other two are for chat or browser use, you can get away with lower specs on the non-gaming screens.
➤ Panel Type
- IPS: Better color and viewing angles (great for side monitors).- TN: Faster but with worse color (not ideal for the sides).
- VA: Good contrast, decent middle ground.
? Keep It Consistent: Try to get matching monitors (same size and resolution) to avoid awkward misalignment in gaming or productivity.
Step 3: Graphics Card Matters — A LOT
Think of your GPU as the brain that has to power all your monitors. Not all cards are created equal, and pushing pixels across three screens is no joke.➤ What to Look For
- Outputs: Make sure your GPU has enough HDMI/DisplayPort/USB-C ports.- Power: Get a card that can run multiple displays at your desired resolution and refresh rate. For three 1080p monitors, a mid-tier GPU like the RTX 3060 can hold up. For higher resolutions, you’re looking at RTX 3080 or higher.
➤ Multi-GPU Setups?
Honestly? Not worth it anymore. Most modern games and software are optimized for single-GPU usage. Stick with one beastly card.Step 4: Monitor Placement and Mounting
Next, we’re talking real estate.➤ Desk Space
Clear that clutter. You need ample desk space or a mounting solution.➤ Monitor Stands and Mounts
- VESA Mounts: Most monitors support them — check before buying.- Triple Monitor Mounts: These save space and keep everything neat.
- Or, use articulated arms to customize each monitor’s position.
➤ Curved vs Flat
Curved monitors can offer a better immersive experience, especially in a wraparound setup. If you go all curved, make sure the curvature matches across monitors.? Eye Level Rule: The center of your main monitor should be at eye level. Don’t strain your neck for the setup aesthetic.
Step 5: Cable Management Is King
Okay, it’s time to channel your inner cable ninja. There’s nothing worse than a gorgeous setup tangled in spaghetti wires.➤ Tools You’ll Need
- Zip ties- Adhesive cable clips
- Cable sleeves
- Velcro straps
➤ Tips
- Route cables behind the desk.- Use a cable tray under the desk.
- Label your cables — future you will thank you.
Bonus points if you manage to make your setup look like it came from an IKEA catalog.
Step 6: Software and Display Settings
Now that the hardware’s set up, you’ve gotta make everything play nice.➤ Windows Settings
- Right-click the desktop > "Display Settings"- Rearrange monitor positions to match your physical setup
- Choose your main display (usually the center monitor)
➤ NVIDIA or AMD Control Panel
Fine-tune resolution, refresh rate, color calibration, and display orientation.➤ Eyefinity (AMD) or Surround (NVIDIA)
These technologies combine multiple displays into one ultra-wide screen in supported games. Hello immersive racing and flight sims!
Step 7: Audio Considerations
Picture this: you’ve got a stunning three-screen setup but tinny, echoey sound. Ugh.- Speakers: Choose speakers that fit neatly under or behind your monitors.
- Headphones: If you're a competitive gamer, a good pair of over-ear headphones with surround sound can enhance performance.
- Soundbar: A solid choice if you also use your PC for movies or music.
Pro tip? Keep your mic and sound input/output settings adjusted according to your active monitor, especially while streaming.
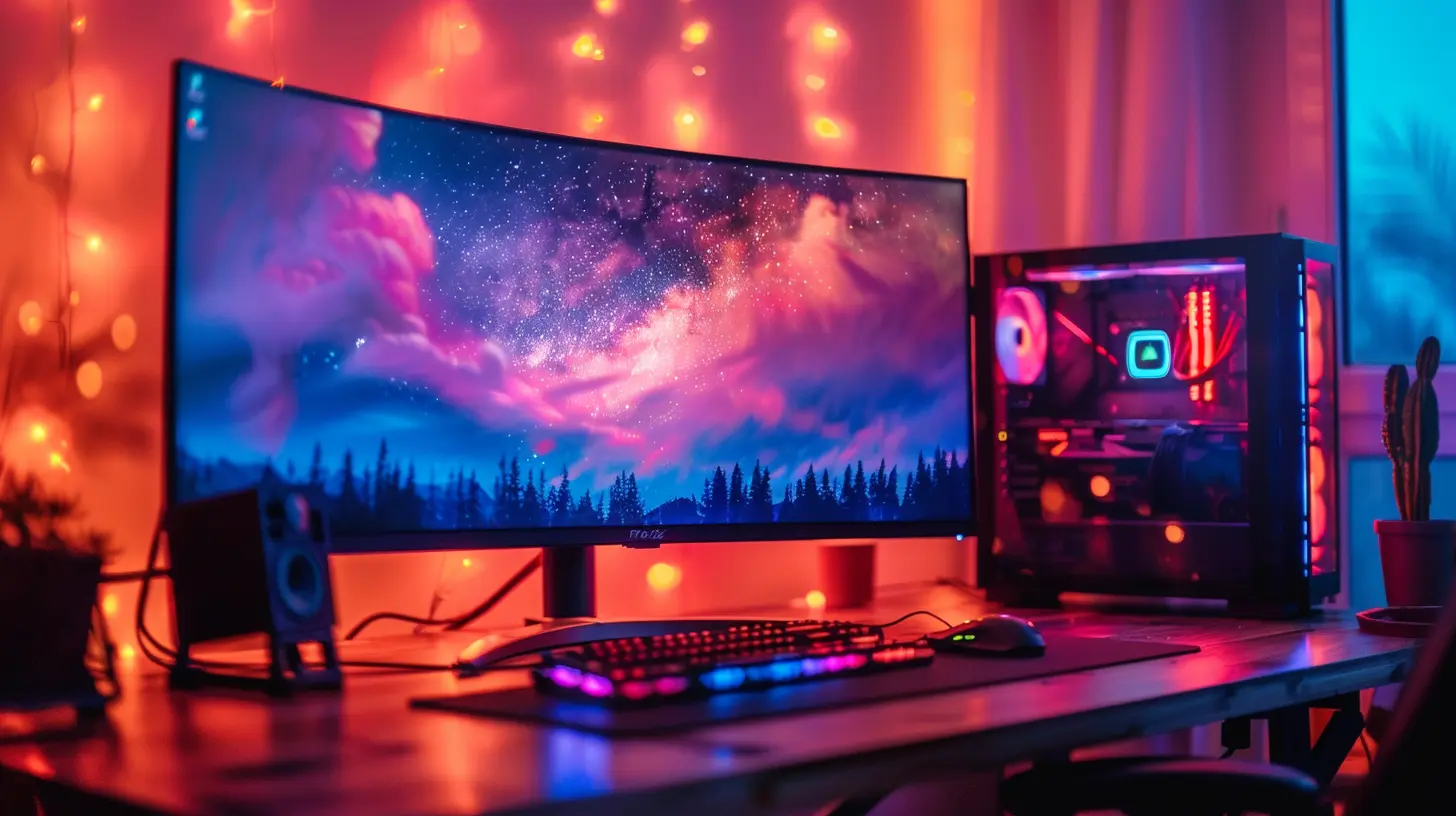
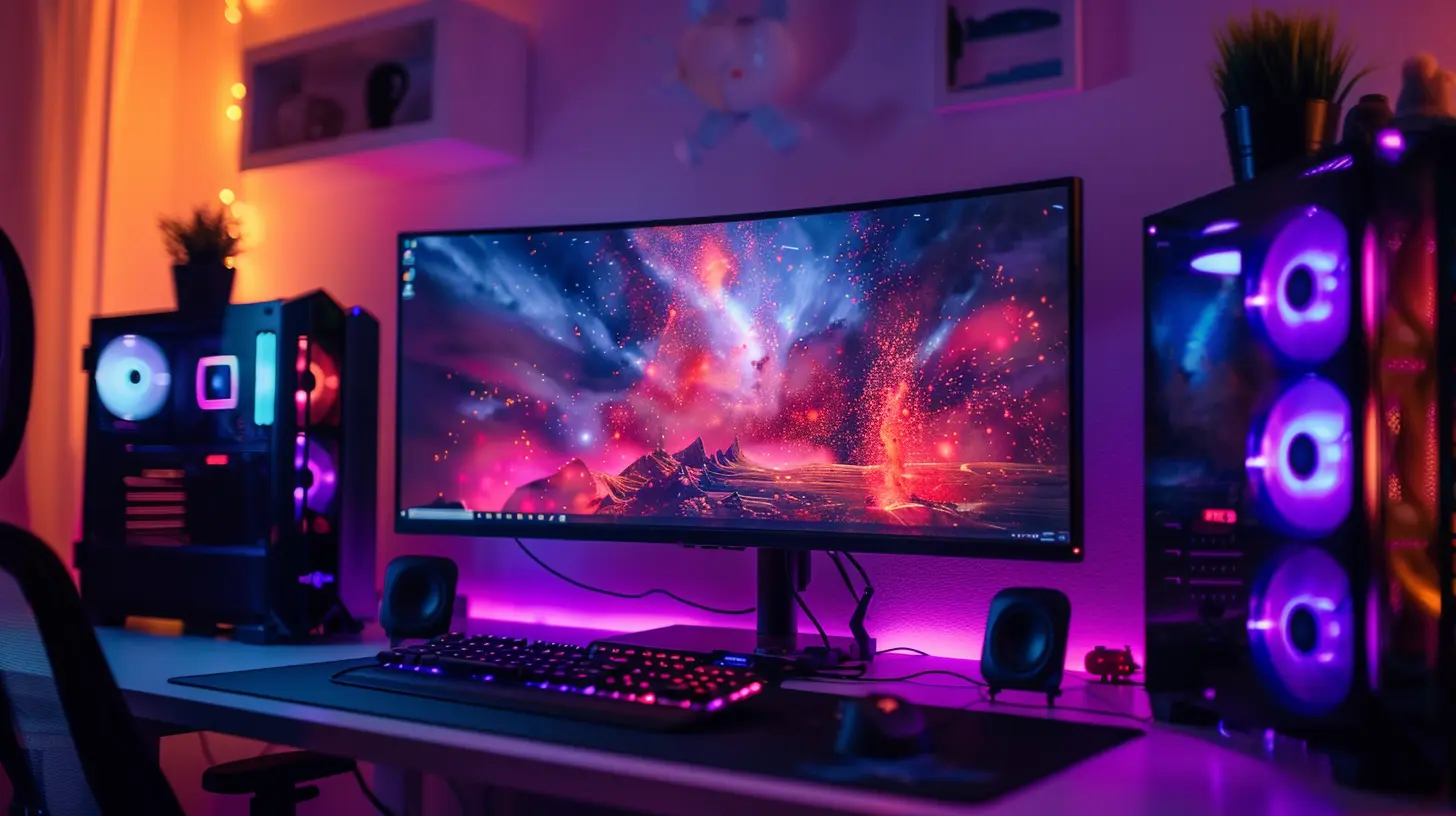
Step 8: Lighting and Aesthetics
Because hey, we’re building a vibe here, not just a rig.➤ RGB Lighting
- Behind the monitor strips (bias lighting)- Under the desk
- In/around the PC case
➤ Synchronize It!
Use software like Corsair iCUE, Razer Synapse, or RGB Fusion to sync lighting across components and peripherals.➤ Theme It Out
Want a cyberpunk look? Go for neon colors and futuristic accents. Prefer minimalism? Stick with white lighting and clean lines. Make it yours.
Step 9: Try It All Out
Fire up your favorite game. Stretch it across your monitors. Join a stream on Twitch or launch Discord while gaming. Test all your apps and tweak what feels off. Monitor stutter? Adjust refresh rate. Audio lagging? Reassign audio sources.This is where the magic happens. You’re no longer just building — you’re gaming, streaming, and living the dream.
Bonus Tips and Tricks
- Steam Big Picture Mode works great across multiple displays.- Use third-party software like DisplayFusion to manage wallpapers and window snapping.
- Keep firmware and GPU drivers updated for smooth multi-monitor performance.
- Don’t forget to set up hotkeys for quickly switching display profiles.
Common Pitfalls to Avoid
- Mismatched resolutions causing screen tearing- Forgetting to measure your desk space
- Ignoring GPU requirements
- Overloading a modest power supply
- Poor cable management turning into overheating issues
Final Thoughts
A multi-monitor gaming setup isn’t just about adding more screens — it’s about tailoring your space to match your playstyle, your personality, and your passion. When done right, it doesn’t just look good, it feels good.Yes, it can be a bit of an investment, and yes, there’s a learning curve… but the payoff? Completely worth it.
So if you’re still hemming and hawing about going multi-monitor, take the plunge. Start with a second screen, get the hang of it, and before you know it, you’ll be commanding a full-fledged gaming command center.
Now go build that setup and game on like a boss.
all images in this post were generated using AI tools
Category:
Gaming MonitorsAuthor:

Avril McDowney