From Idea to Playable Prototype: How to Develop Your First Game
17 June 2025
Have you ever dreamed of bringing your own video game to life? You’re not alone. Many gamers toy with the idea of developing a game but get overwhelmed by the process. The good news? It’s totally doable—even if you’ve never written a single line of code in your life.
Whether you want to give life to that brilliant idea brewing in your head or just flex your creative muscles, making your first playable prototype is where the real fun begins. This guide is your step-by-step roadmap from that initial spark to having something you can actually play and share.
Let’s roll up our sleeves and dive into it.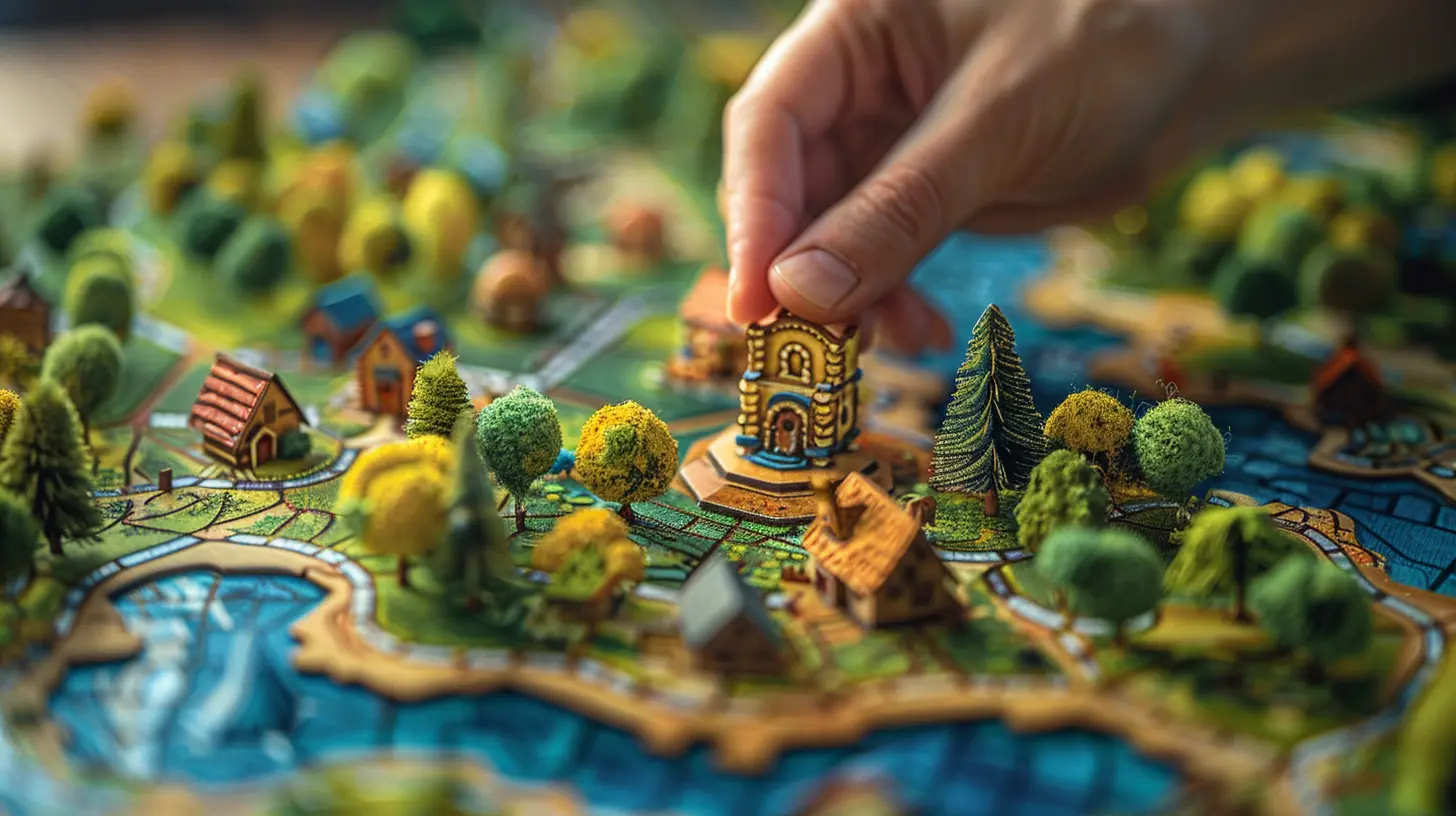
1. The Spark: Coming Up With Your Game Idea
First things first—what kind of game do you want to make?Your idea doesn’t need to be revolutionary. In fact, it’s better if it isn’t. Aim for simple. Then, add your unique twist. Think of how “Flappy Bird” combined simple mechanics with a torturous level of difficulty—and it went viral.
Ask Yourself:
- What’s the core experience I want players to have?- What games do I love, and what would I change about them?
- Is this idea manageable for a solo or small team project?
Once you’ve got a concept that excites you, jot everything down. Even the silly bits. Don’t censor yourself at this stage—it’s all valuable.
2. Define the Scope: Keep It Tiny (But Mighty)
You don’t need an epic RPG with 60+ hours of gameplay on your first attempt.Start small. Like, super small.
Aim to build a “vertical slice”—a tiny, complete section of your game that showcases the core gameplay. This is your playable prototype.
Think MVP: Minimum Viable Product
Focus on:- One mechanic (jumping, shooting, solving puzzles)
- One level or environment
- Basic win/loss conditions
Imagine you’re building the bones of the game. Skin and muscles come later.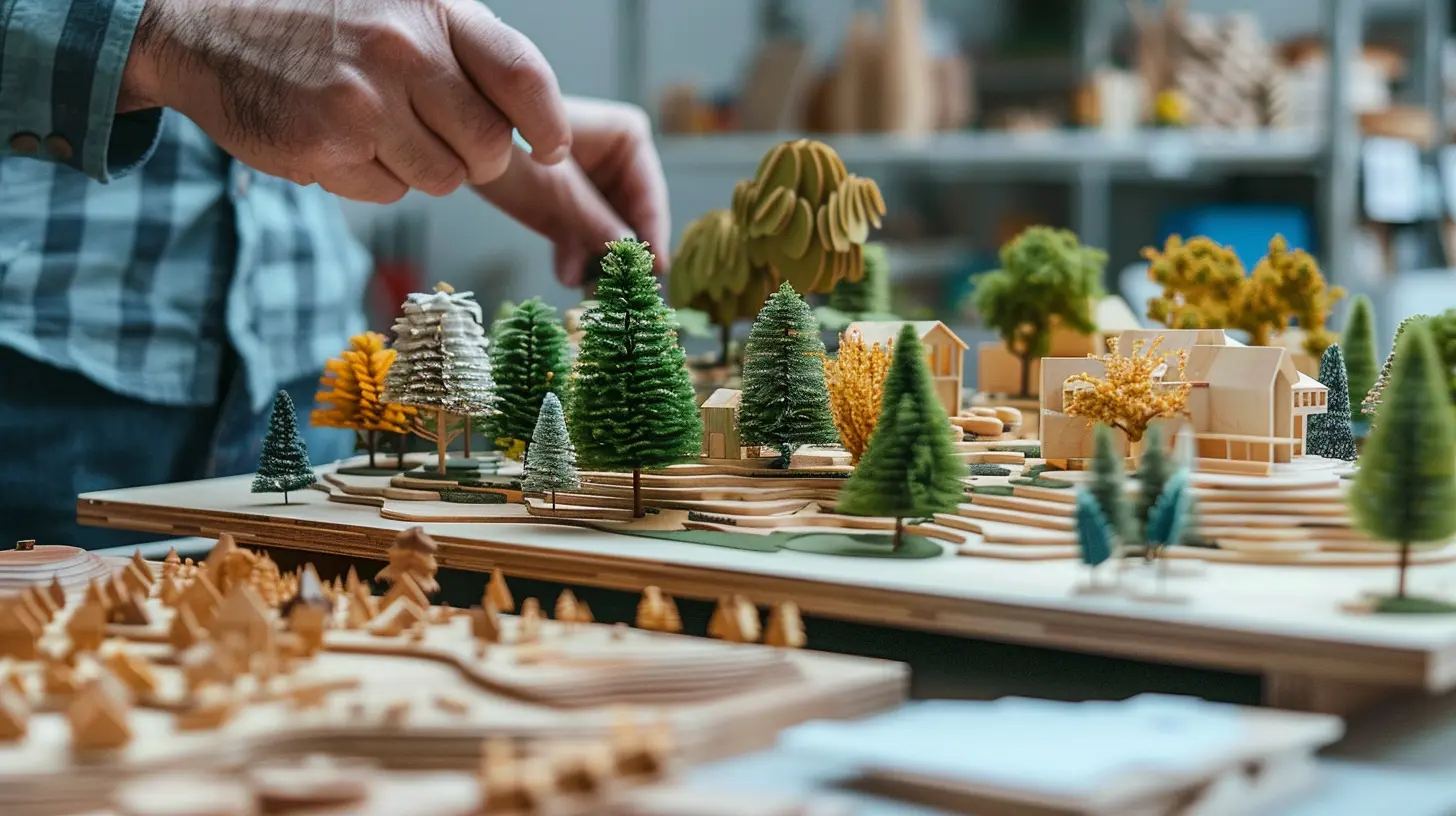
3. Choose the Right Tools (No, You Don’t Need to Code… Yet)
Pick the tools that match your skills.Game Engines for Beginners:
- Unity – Great for 2D/3D, huge community, a bit of a learning curve.- Unreal Engine – Gorgeous graphics, can be overkill for small games.
- Godot – Lightweight, beginner-friendly.
- GameMaker Studio – Drag-and-drop simplicity, perfect for 2D games.
Prefer less technical stuff? Check out:
- Construct
- RPG Maker
- Twine (for text-based games)
The best tool is the one you’ll actually use. Don’t fall into the trap of constantly switching engines. Pick one and stick with it—at least for this project.
4. Write It Out: Nail the Game Design Document (GDD)
You don’t need a 40-page doc, but even a basic outline helps organize your thoughts.What to Include in Your GDD:
- Story or premise (if any)- Core mechanics
- Game controls
- Visual style (even if it’s stick figures)
- Sound/music ideas
- Rough timeline
It’s like your recipe card when cooking. You don’t have to follow it perfectly, but it keeps you on track.
5. Block It Out: Build a Basic Prototype
Now we get to the good stuff—making your game actually playable.Prototyping Tips:
- Use placeholder graphics (colored blocks or basic shapes)- Build one level or screen
- Implement your main mechanic
- Focus on "feel" over polish
This phase is all about testing the gameplay, not making it pretty. You’re sculpting the rough shape of your idea. The polish comes later.
Think of it as a paper airplane—you want to see if it flies before you paint flames on the wings.
6. Playtest Early, Playtest Often
Here’s the golden rule of game dev: playtest. Constantly.You are not your target player, so get others to try your prototype.
What to Look For During Testing:
- Is the goal clear?- Do the controls feel good?
- Is it fun (even a little)?
- Do players know what to do?
Don’t take feedback personally. It’s your shortcut to improvement. Be open, take notes, and tweak accordingly.
If someone gets confused or stuck, your game just gave you homework—and that’s a good thing.
7. Iterate, Iterate, Iterate
Game development is a loop: build, test, tweak, repeat.Tweak Things Like:
- Level layout- Enemy AI
- Player movement speed
- UI/UX design
Even small adjustments can make a huge difference in how your game feels. Trust your instincts, but also trust the data.
Pro tip: Keep backups. You’ll thank yourself later when version 3.2 crashes and you want to go back to 2.9.
8. Add the Juice: Polish With Audio and Visuals
Once the gameplay feels solid, it’s time to dress things up a bit.What Adds “Juice” to Your Game?
- Sound effects (footsteps, jumps, button clicks)- Music that fits the mood
- Visual effects (particles, animations, camera shake)
- UI polish (menus, health bars, score)
You don’t need AAA graphics. Even simple pixel art can look amazing with the right effects.
Remember, the goal is to enhance the experience—not distract from it.
9. Show It Off: Sharing Your Prototype
You’ve got something playable—now get it out there!Where to Share:
- itch.io – Free and popular among indie devs.- Game Jolt
- Reddit communities like r/gamedev or r/indiegames
- Discord servers for game devs
- Your own social media
Don’t be shy. Sharing your work builds motivation, gathers feedback, and might even open doors you never expected.
Plus, it feels awesome to say, “I made this.”
10. What’s Next? Decide Where to Go From Here
Now that you’ve built a prototype, it’s decision time.Options Include:
- Expanding it into a full game- Using it as a portfolio piece
- Joining a game jam to build another one
- Starting a new project altogether
Whatever you choose, the experience you gained is priceless. You’re officially a game developer. How cool is that?
Tips From the Trenches: Advice From First-Time Devs
Here’s what some beginners wish they knew earlier:- “Don’t aim for perfect—it’ll never happen.”
- “Keep your code clean and commented.”
- “Test on different devices early on.”
- “Start with a mechanic you love working on.”
- “Timebox your tasks, or you’ll spiral into endless tweaks.”
Mistakes are part of the process. Embrace them. The more you mess up, the quicker you learn.
FAQs: Quick Answers to Common Newbie Questions
Q: Do I need to know how to code?A: Not necessarily. Tools like Construct or GameMaker let you build without hardcore coding. But learning a little goes a long way.
Q: How long does it take to make a prototype?
A: Depends on scope. Some people build one in a weekend (hello, game jams), others take a month or two.
Q: Should I work alone or with others?
A: Solo is great for learning, but teams can help if you want to focus on just one area (like art or programming).
Final Thoughts: You’ve Got This
You don’t need a degree or a fancy studio setup to start building games. All you need is the drive to create, a willingness to learn, and a whole lot of curiosity.Start simple. Get something playable. Iterate. Share it.
Game development is a journey, but you’ve already taken the most important step—getting started.
So go on, grab that idea from your brain shelf, and turn it into something playable. We can’t wait to play it.
all images in this post were generated using AI tools
Category:
Game DevelopmentAuthor:

Avril McDowney
Discussion
rate this article
2 comments
Theodore McEachern
Inspiring journey, great insights!
September 21, 2025 at 3:27 PM

Avril McDowney
Thank you! I'm glad you found it inspiring and insightful!
Margaret Gilbert
Great insights on the game development process! Your emphasis on the transition from concept to playable prototype is particularly valuable for aspiring developers. Practical tips like iterating based on feedback will surely resonate with many. Looking forward to more articles on game design!
June 20, 2025 at 2:36 AM

Avril McDowney
Thank you for your kind words! I'm glad you found the insights helpful. Stay tuned for more game design articles!
